This tutorial will show you how to create the file upload custom field, and how it can be used within both forms and surveys.
Step 1: Adding the File Upload Custom Field to Your Form or Survey
- Navigate to the form builder.
- You’ll see Standard Fields and Custom Fields in the menu on the right.
- Standard Fields are commonly used, default fields in the system, such as name, email, and phone.
- Custom Fields are those you’ve created specifically for your business needs. (To create a custom field, go to settings and click “custom fields”)
- Click Custom Fields

- In the sidebar, search for “File Upload” from the options.

- Click and Drag this field over to your form.
- To edit, click into the feature field in your form, and the editor will appear in the right-hand side bar. You can edit the Title, Placeholder, and make this a required field in your form.

- Click Save Form.
- Click Integrate Form.
- Copy the link and paste it into the browser, or wherever you wish to use it.
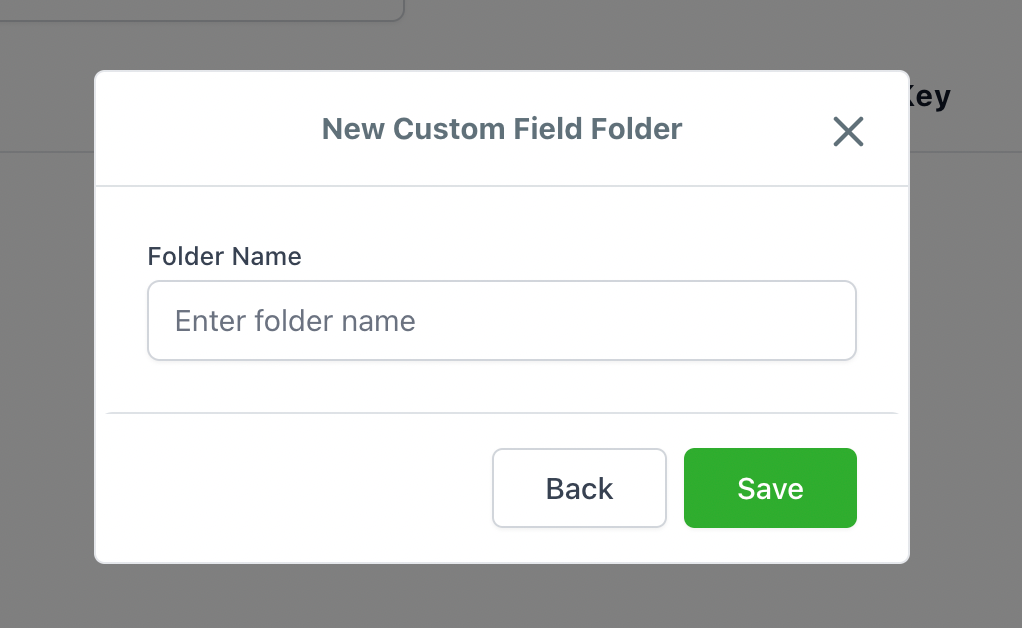
You can also create a file folder and organize multiple files in one organized space.
To create a file folder:
- Navigate to settings and custom fields.
- In the top right corner, choose “Add folder”
- From here name your folder “Files” and add in Field
- Select Files.
- Name and Save.

Was this article helpful?
That’s Great!
Thank you for your feedback
Sorry! We couldn't be helpful
Thank you for your feedback
Feedback sent
We appreciate your effort and will try to fix the article