There are three parts to every Contact record: Contact, General Info, and Additional Info. If you click on a contact record, you can view their full profile/card. This will give you a great overview of their pertinent contact information, the communication you’ve had with them, and basically a quick snapshot of their history in your system. You can also add and view what company they are a part of.

Section 1: Contact
This section gives you the contact information you’ve collected, such as name, email, phone address, and more. It also tells you what campaigns, opportunities, and other system sections have been applied for this person.

Section 2: General Information
Here you can view Business information for this Contact, their website, and timezone.

Section 3: Additional Information: This section will also contain any custom fields you’ve created and collected.

To Create another Contact Section:
By default, you’ll have these 3 tabs - Contact, General Info, and Additional Info. These tabs can be completely customized - you can add tabs and also move/add/delete fields from specific tabs.
- Navigate to Settings and Custom Fields
- At the Top, click ‘Folders’
- Here you will see your folders and can add, move and delete fields from within them.

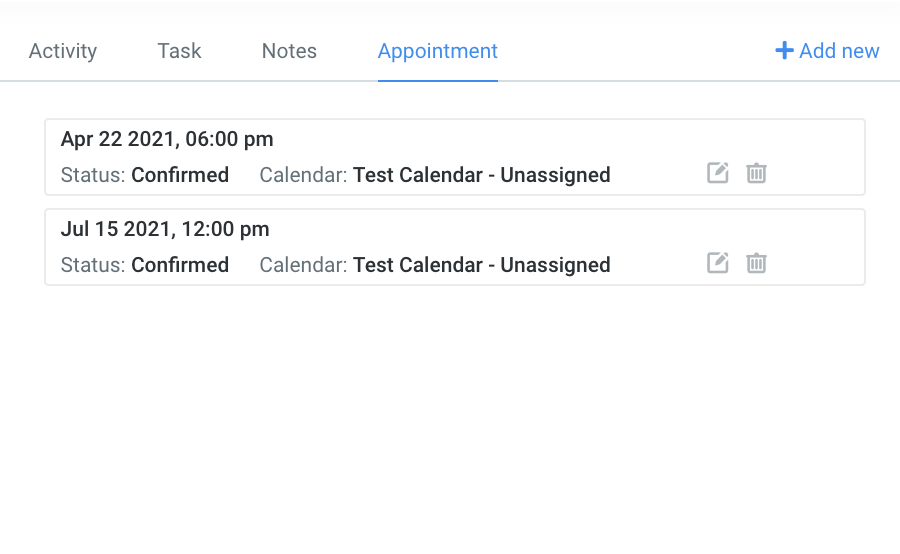
In the right sidebar, you will see Activity, Task, Notes, and Appointments.
- Activity: Here you can see all the activity of this contact within your system, such as forms submitted, and appointments booked. Anyway, they are interacting with your system and will be featured here.

- Tasks: Here, you can view pending and completed tasks sorted by user, status, or due date. You can also add new tasks in this tab if you need to schedule a follow-up, remind yourself to send some information to the contact, etc.

- Notes: Add any relevant notes about the contact, such as how you know them, relevant details to help build rapport with them, details about their experience, etc.

- Appointment: View any scheduled and completed appointments here. You can also add new appointments if you wish to manually schedule something for them.

Was this article helpful?
That’s Great!
Thank you for your feedback
Sorry! We couldn't be helpful
Thank you for your feedback
Feedback sent
We appreciate your effort and will try to fix the article